Sunday, 8 September 2013

Faubourg

We are very excited to announce that one of our favourite French Baking shops had just opened downtown across the Vancouver Art Gallery!

Faubourg's new location opened last month! 

What it looks like inside

Faubourg specializes in French baking, while offering the classic coffee/tea beverages. It also has a small patio, which is great because we're trying to get as much sun as we can before fall starts. 

Our Faubourg favourites include their bread/croissants, particularly the Nutella and pistachio flavoured ones. More importantly, they have awesome French macarons. What we like about the macarons is their texture - a solid macaron shell on the outside, soft and chewy on the inside. Favourite flavours include Lavender Early Grey, Salted Caramel, Tahitian Vanilla, Cappucino and Dark Chocolate (we're clearly not fruity macaron people)

We were so happy we had to get a whole box

Macaron "feet" up close. Because making macaron "feet" is an art

And in case you didn't want to make the trip downtown to try these, Faubourg's original location is on Kerrisdale (41st and Arbutus). :)

Tuesday, 3 September 2013

BaoQi

While Vancouver has a lot of pho (Vietnamese noodle soup) places to dine in when the weather gets gloomy, pho is not the only Vietnamese option in town. If you're feeling a little more adventurous, this little gem called BaoQi, is a reasonably priced hole-in-the-wall place downtown. We recommend going either really early or really late, as the place is small (seats about < 20 people) and can get busy! Here are some of our favourite dishes from BaoQi, that don't involve Pho. 


Shrimp salad rolls
BaoQi has four kinds of salad rolls, each one patterned after a season. Since it is still summer, we decided on the summer salad rolls which uses the rice-based wrap, shrimp and some vegetables. This is served with what we are guessing is Nuoc Cham (vinegar dipping sauce).

Pomelo Salad
The best part about Vietnamese food is getting fresh vegetables into the diet--without it really feeling like you're eating vegetables. The pomelo salad is a mix of fresh chopped or shredded veggies, with a hint of spice and sweetness. Shrimp and pomelo is definitely a refreshing combination for a hot summer day.

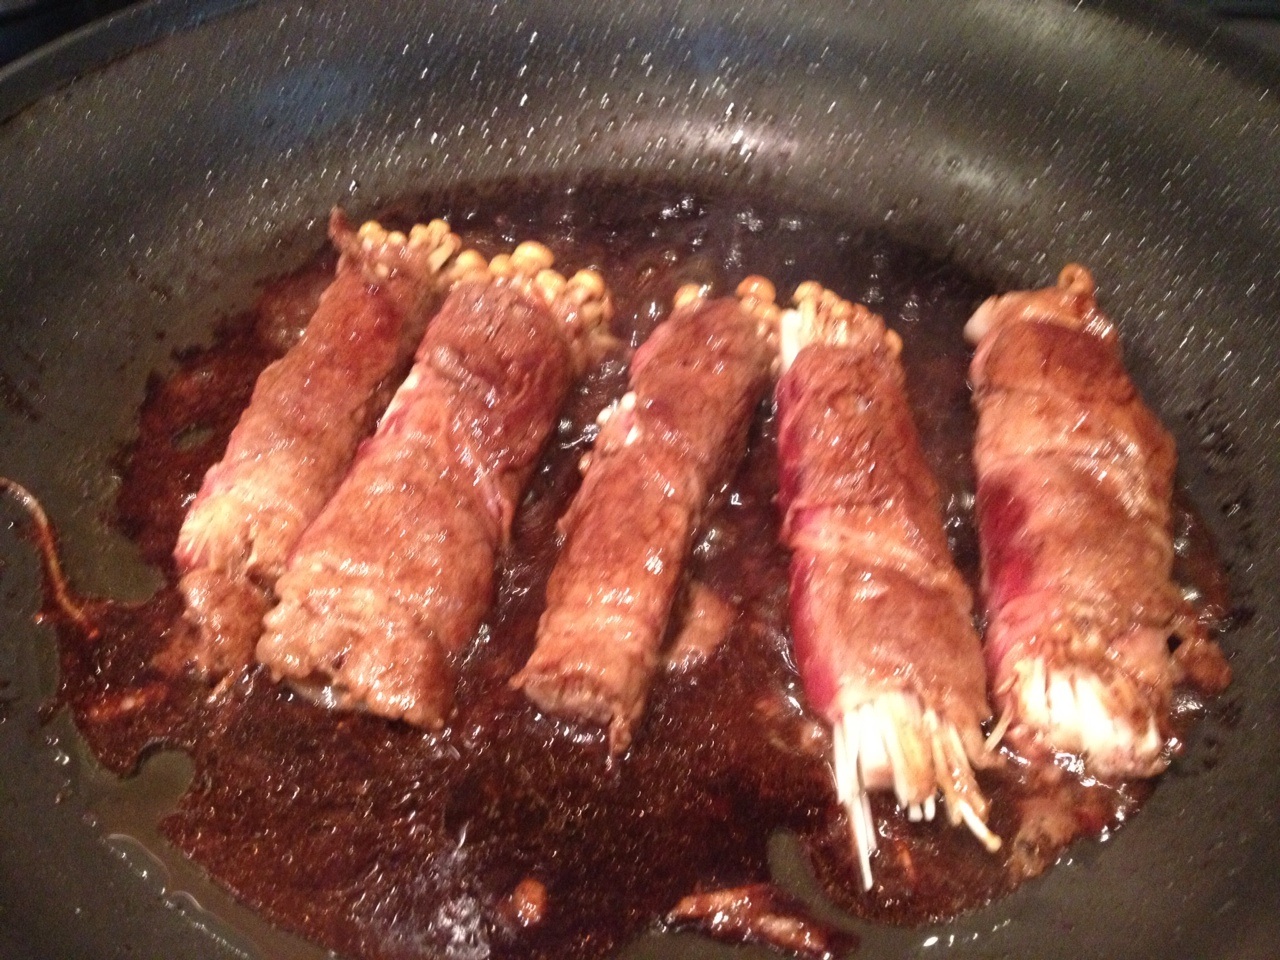
Beef wrapped in Bettle leaf

Shrimp wrapped in sugar cane
BaoQi also serves a variety of foods "to assemble". During this dinner, we ordered the beef wrapped in bettle leaf and the shrimp wrapped in sugar cane. These dishes are served with Vietnamese rice wrappers (think really thin tortillas), vegetables (basil, shredded carrots, shredded daikon, cucumber, some bean sprouts) and some kind of rice noodle such as vermicelli. The fun part is taking the meat, vegetables and noodles into the rice wrapper and assembling it into a wrap before eating it. These dishes are also served with Nuoc Cham (vinegar dipping sauce).

Other adventurous dishes are available such as gelatinous shrimp cakes wrapped in banana leaves or a dessert (that we are unsure is in the real menu) involving coconut milk, black eyed peas and tapioca. All these are a good change from more common dishes like pho and vermicelli bowls. That being said, there is a pho option on the menu, if one wants to opt for some southeast asian comfort food on a rainy day!

Monday, 5 August 2013

Deep Fried Mac n Cheese

When we first started our kitchen adventures, most of them involved something with cheese... baked brie, cheese fondue, cheese-based dips, cheese in a pumpkin. Over time, we experimented with other ingredients but have always seemed to come back to cheese-based recipes. As cheesy as it sounds, we just love cheese.

So in a twist to the traditional mac n cheese we know and love, we decided to try making deep fried mac n cheese--- if anyone is familiar with the origins of deep fried mac n cheese (we suspect the Calgary stampede, or some Southern state) please leave a comment!

Mac n cheese: 
Ingredients:
200g gruyere cheese
200g marble cheddar
3 cups macaroni
500mL 2% milk or half n half cream
Half a stick of butter
5 TBSPS flour
Seasoning of choice
Salt and pepper


Procedure:
  1. Boil water in a pot and add the macaroni. While this is happening, combine cheese by grating them in a mixing bowl.
  2. Melt the butter in a sauce pan and add the flour to create a rue. 
  3. In medium-low heat, add the cream, salt and pepper and cheese and mix until it becomes thick, creamy and velvety.
  4. Add your seasoning of choice (we used garlic powder and a mix of parmesan and herbs).
  5. Once the macaroni is cooked, drain the water and combine with the cheese mixture until everything is well coated.
  6. Set aside to cool in a sqaure pyrex.
  7. Cover in cling wrap when warm, and place in the refrigerator overnight.
The mixture is ready! Try not to eat it... 
Then we wait..... 

The next day.... 

To fry the mac n cheese: 
Ingredients:
3 eggs beaten
Flour
Panko bread crumbs
Seasoned bread crumbs 
Olive oil (or any oil used to fry)
  1. Cut the mac n cheese into little cubes (we used cubes, balls are hard to form) and set aside.
  2. In three separate bowls, prepare the eggs, flour and  mix the panko and seasoned bread crumbs in even proportions in the third bowl.
  3. For each mac n cheese cube, cover the surface evenly with flour, eggs and then bread crumbs.
    You can build some sort of tower that looks like this...

    4. Deep fry until golden brown. We didn't want the extra hassle of cleaning the deep fryer, so we just used a nonstick pan with oil and fried each side until golden.
These mac n cheese cubes/bites would have been great with a cheese sauce with truffle oil, but truffle oil is expensive. Other options include marinara sauce or maybe some roasted tomato soup, which we COINCIDENTALLY have a recipe of right here

Check out that gooey cheese melting into the tomato soup.... A proud moment right there. 

Saturday, 3 August 2013

S'mores Pie

Pie is not normally in our arsenal of baking recipes, and since it's camping season, we decided to make an easy s'mores pie care of Entertaining with Beth. This recipe was easy enough that (almost) nothing went wrong, except maybe the part where we couldn't wait to eat it so it was hard to slice. Here is a recap of this kitchen adventure:

Pie Crust 
Ingredients:
2 cups ground graham crackers (we found them ground at the grocery already which saved time)
6 tbsp melted butter 
1/8 tsp salt

  1. (Preheat oven to 350F) Combine ingredients in a bowl until the graham crackers stick together 
  2. 2. Place the mixture in a round baking pan. We used the bottom of a glass to form the crust evenly on the bottom 
  3. Set aside for later 
Chocolate filling: 
Ingredients:
3/4 cup of semi-sweet chocolate chips
3/4 cup milk chocolate chips
1/4 cup butter
1 cup heavy cream 
2 eggs and 1 egg yolk 
1 tsp vanilla 

  1. Place chocolate chips and butter in a heat proof bowl. 
  2. Heat cream and bring to a boil
  3. Pour the cream over the chocolate chips and butter while stirring with a whisk making sure everything is well incorporated
  4. Add the eggs, egg yolk and vanilla extract 
  5. Pour the mixture into the graham cracker crust and bake at 350F for 20-30 minutes or until toothpick comes out clean from the center

Marshmallow Topping: 
Ingredients:
2 egg whites
1 cup corn syrup 
pinch of salt 
1/2 tsp vanilla
1/4 tsp cream of tartar
2 tbsp sugar 

  1. Beat all the ingredients until stiff peaks
  2. Use a spatula to cover the (cooled down.... don't be impatient folks!) top of the chocolate filling, adding some peaks and ridges to give it a rustic look
  3. Bake under a full broil or 500F for 1-2 minutes. WATCH CLOSELY as the marshmallow topping can burn REALLY FAST, unless you're into burnt marshmallows, we respect that. 

The peaks of the marshmallows should turn brown first, giving it that rustic look
 4. Cool for 10-15 minutes before serving

There is a lot of chocolatey goodness inside, perfect to serve at a summer BBQ 

Wednesday, 31 July 2013

Enoki Mushroom Wrapped Beef

So far, a lot of the recipes we've posted have been heavily influenced by North American cooking styles. And so we thought... why not post something Asian inspired? We are Asian after all! Now don't get us wrong, although we post a lot of North American inspired recipes, we love our Asian food! The thing that's difficult with Asian cooking is that... there are no recipes. We usually never have recipes for anything we cook! The beauty about Asian cooking is that there are never any exact measurements or steps for anything... the only requirement to be good at Asian cooking is that you have working tastebuds. The one principle to remember about Asian cooking: taste and adjust everything along the way. That being said, it's a little harder for us to post some of our more Asian inspired dishes... because we never have recipes for them. But this time around, we made sure to note everything down as well as exact measurements for our fellow readers out there that are new to some Asian flavors! This enoki wrapped beef, is great as an appetizer or side. We wouldn't recommend serving it as a main entree because it really isn't all that filling, unless you have a plate of fried rice or noodles to go along with it.

Ingredients:
Enoki mushrooms
1-2 packs of thinly sliced sukiyaki beef
Cornstarch and water mixture

Glaze:
3 TBSP oyster sauce
2 TBSP mirin (sweet Japanese rice wine)
1 TSP soy sauce
3 TBSP water

DISCLAIMER: Shop at your local Asian grocery store for these ingredients. We made the mistake of going to a regular grocery store, and found almost nothing.

A couple of things about the ingredients... how much enoki you buy, will depend on how many of these you want to make. The ingredients for the sauce, will be enough for about 15-20 of the wraps. We ended up making about 15 of them. Another note about the beef, is really you can use any beef you want to. We chose to use the ready sliced, thin sukiyaki beef to save us the extra work of having to pound out and slice some meat. What's great about the ready to cook sukiyaki beef is that it is already thinly sliced, and the perfect size to wrap around your enoki. If you can't find the sukiyaki beef at your local Asian grocery, we recommend sirloin. Just pound and tenderize them out so they become thinner, and slice to the appropriate sizes.

Procedure:
  1. Wash your enoki and trim off the edges.
  2. Mix some cornstarch and water together to make a little paste. Make sure that it is not too runny.
  3. Grab a bunch of the enoki, and wrap a slice of the beef around it using the cornstarch water mixture as a glue to seal the beef around the enoki. (Note: the enoki will shrink once cooked, therefore wrap the beef as tight as possible).
    Enoki Wrapped Beef before searing and cooking
  4. Heat up some oil in a non-stick skillet, and place your enoki wrapped beef in the pan.
  5. Rotate the wraps until all sides of the beef have been seared.
  6. Once the beef has been seared, pour your glaze mixture in and simmer the wraps until the mushrooms are soft (about 3-5 minutes). (Note: if your pan is not big enough to fit all of your wraps, you might want to save half the glaze mixture so you can do another batch)
    Adding the glaze
  7. Once the mushrooms are tender, remove the wraps and place on a serving tray. (Note: At this point, the mushrooms and beef should be fully glazed and flavored. You may or may not choose to pour the remaining sauce in the pan over the wraps - we did because the glaze is delicious)
Enoki Wrapped Beef ready to serve

Tuesday, 23 July 2013

Supporting Local Causes: Aprons for Gloves Part 2 - Roasted Vegetable Lasagna

Last time we spoke of bruschetta with balsamic reduction to support our fundraising feast for Aprons for Gloves and the Restaurant Rumble, which by the way, is happening TODAY.

Part 2 of our fundraising feast for one of our dear friends and hopeful fighter (shout out to Aston!) involves making roasted vegetable lasagna from ALMOST scratch (yes, almost scratch because we didn't really make the noodles).

Here it goes!

Roasted Veggies:
  1. Squash: rub with salt, pepper and garlic powder. Place in 350 degrees for 20-30 minutes.
  2. Zucchini, red and yellow peppers: rub with salt, pepper, balsamic vinegar and olive oil. Place in 350 degrees for 20-30 minutes
  3. Broccoli and spinach: blanche (2 minutes in boiling water then into an ice water bath)
Tomato sauce:
1/8 cup olive oil
1/2 cup green onion
1/4 cup garlic (minced)
1/4 cup onions
1/4-1/2 cup celery (sliced)
flat leaf parsley
2 BIG cans tomato (or fresh stewed ones)
Crushed bullion (2-3 cubes) and prepared as directed
1-2 tsp italian herbs like basil and oregano + salt and pepper to taste
  1. Heat oil in the pan and sautee garlic, onions until fragrant.
  2. Add celery, parsley and sautee for 1-2 minutes until translucent
  3. Add the tomatoes, stock, and herbs and simmer for 30 minutes. Make sure to stir every so often, and then add the seasoning.
Bechamel Sauce
5 tbsp butter
4 tbsp flour
4 cups milk
2 tsp salt
Dash of nutmeg

Procedure:
  1. Melt the butter and add flour in a saucepan over medium heat until the mixture is smooth. Bring milk to a boil and combine. Whisk until smooth and season with nutmeg (and maybe a little cheese)
Lasagna
500g mozzarella (we love cheese.)
300g parmesan (we love more cheese)
350g ricotta (all kinds of cheese)
300g emmental (we had some spare cheese to go with our cheese)
1-2 packs lasagna noodles (we used 2 boxes to fill 3 baking pans)

Procedure (and this is where we had fun):
  1. Preheat oven to 350 degrees
  2. Grate emmental, mozzarella in a large mixing bowl and set aside
  3. In a glass baking pan, layer ingredients as follows: tomato sauce-noodles-tomato sauce-ricotta cheese-roasted veggies-parmesan, emmental and mozzarella mixture. Repeat until pan is filled.
  4. Bake in the oven for 30-45 minutes, until mozzarella cheese on top begins to brown.

This is what it should look like once you're layering the ingredients
Browned cheese on top! 
Layers of cheesy and vegetable goodness in this somewhat "healthy" lasagna. Well, not really healthy, but we definitely had our share of vegetables! 
'Til next time!

Saturday, 20 July 2013

Supporting local causes: Aprons for Gloves Part 1 - Bruschetta with Balsamic Reduction

Here is part 1 of a 2-post series adventure on our good deed this weekend. This weekend we're supporting Aprons for Gloves and their event called the Restaurant Rumble- where local restaurants fight to keep a boxing gym alive for the local Eastside Kids.

How? 

By throwing a fundraising feast for one of the hopeful fighters (and one of our dear friends). Proceeds went to fundraising his team, and we're hoping he gets to fight at the Restaurant Rumble (or at least we get to support the cause). 

We hosted a home cooked vegetarian friendly dinner, and charged everyone $20 (suggested donation). For an appetizer, we started out with some fresh bruschetta. Recipe below: 

Ingredients (serves 10-15):
2 French baguettes 
7-8 medium sized tomatoes 
1/4 cup balsamic vinegar (this varies depending on how much glaze is needed)
2.5 TBSP brown sugar
salt, pepper, olive oil, garlic powder, thyme, oregano
  1. Preheat the oven (suggested 350 celsius). Slice the baguettes into 1/2 inch slices, place in a baking pan and lightly brush with some olive oil. Place in the oven to toast for about 10-15 minutes or until the bread is crispy on top. 
  2. While the baguettes are toasting, dice all the tomatoes and place in a big bowl. Season with salt, pepper, garlic powder, thyme and oregano to taste.
  3. Once the buns are nice and toasty, remove from the oven and place tomatoes on top of baguette slices.
  4. In a sauce pan, combine the balsamic vinegar and brown sugar in medium heat. (WARNING: do not. DO NOT stick your nose on top to smell the concoction. This can be painful... for your brain). Once the balsamic vinegar is brought to a boil, remove it from the heat and stir it continuously until it thickens into a syrup like consistency.
  5. Glaze the baguettes with the balsamic reduction QUICKLY. Balsamic reduction hardens once cool, we suggest washing the spoon and sauce pan ASAP or melting the mixture in hot water before washing. 

Mini Bruschetta Bites 

These bite-sized bruschetta appies were gone pretty fast! Stay tuned to see what's in store for the main course!